Authentication
The majority of the awork API requires authentication. This means that you need to identify yourself to the API by providing a valid access token. This token is used to verify your identity and to ensure that you have the necessary permissions to access the requested resources.
You have two options for authenticating with the awork API.
- An API Key generated in the awork UI, which is permanently valid but is not user-specific, which means it grants admin-level access. This makes sense for background synchronization applications.
- An OAuth 2.0 flow that allows users to sign in with their own account. This generates a user-specific API Token which respects all user roles and permissions.
Read the corresponding section below.
API Key
A long-lived API Key can be generated in the awork UI, which is permanently valid but is not user-specific, which means it grants admin-level access.
Getting an API Key
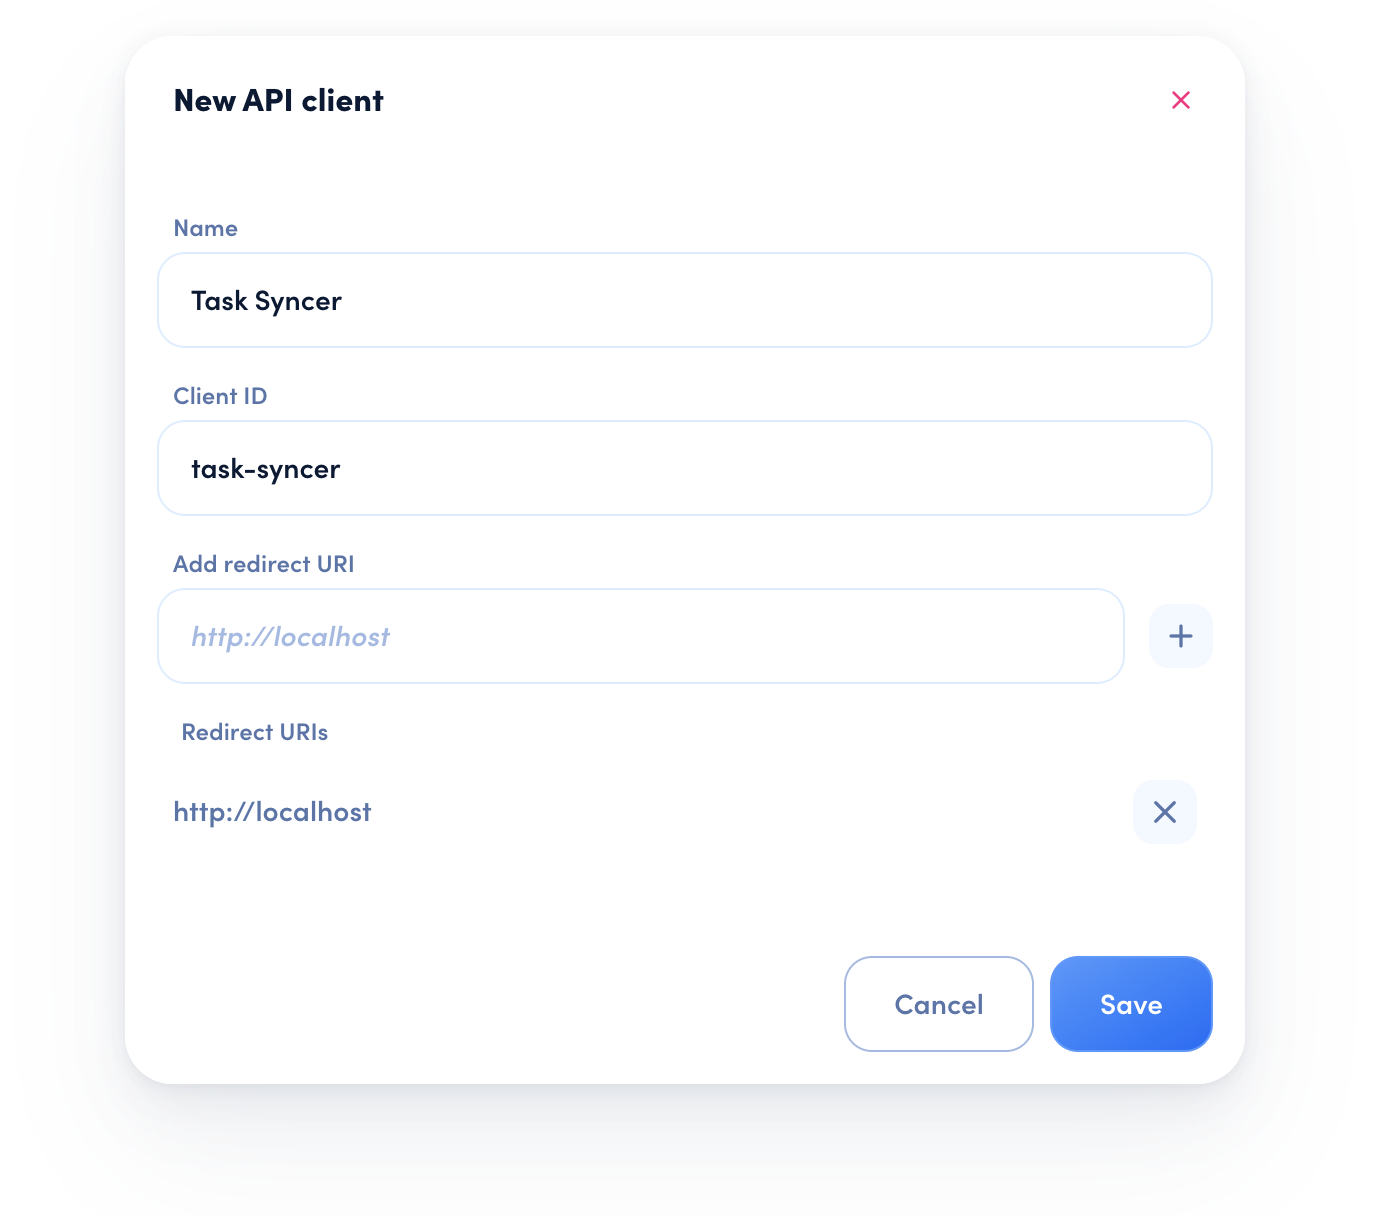
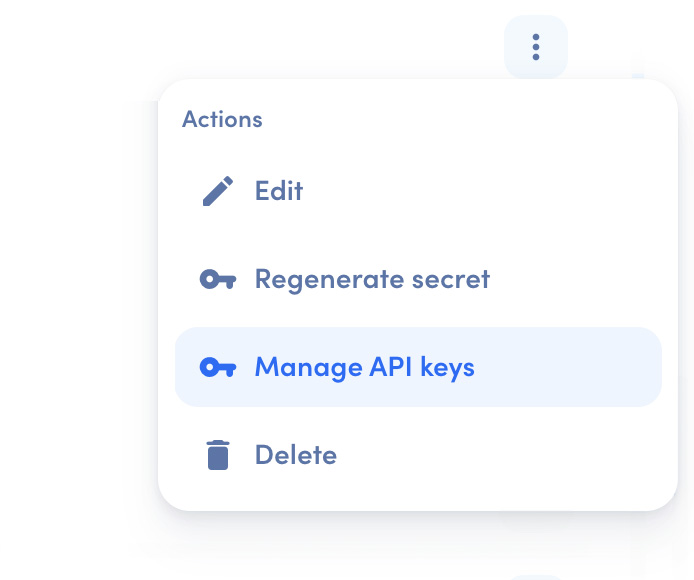
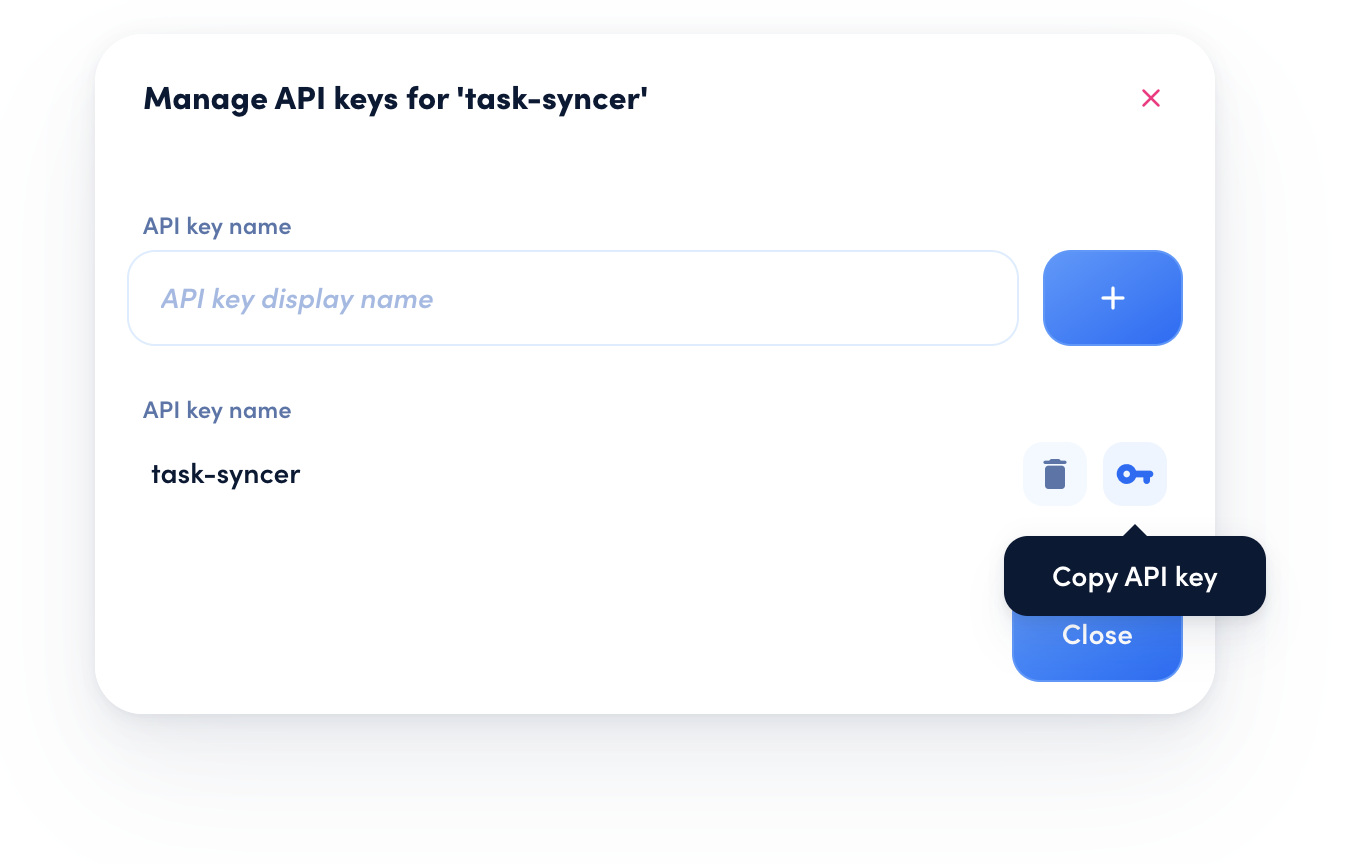
To get a long-lived API Key, log into your awork workspace, go to Settings > Integrations. Here you can create a new API Client or use an existing one. Click on the context menu button (…), then on Manage API Keys. Create a new one or choose an existing one, then click on Copy API Key.


Using the API Key
To authenticate with and receive resources from the API, add the API Key to the Authorization header in the following form:
OAuth 2.0 Flow
The OAuth 2.0 flow allows users to sign in with their own account. This generates a user-specific token which respects all user roles and permissions.
OAuth 2.1 Support
awork supports and recommends OAuth 2.1 for improved security and usability. Authorization Code Flow with Proof Key for Code Exchange (PKCE) is the recommended flow for user authentication.
Definitions
Client Application
A client application needs to be registered before you can make API requests. In awork, go to Settings > Integrations and add a new client application. You will be asked to provide a unique name and a display name for your client.

There are two types of client applications: Confidential and Public. Confidential clients, such as backend integrations can securely store the client secret, while public clients, such as web apps, mobile apps or CLI tools, cannot.
Client Id
The client_id is used to identify your client application. After you register a client application, you’ll be able to see the client_id in the list of client applications in the Integrations panel.
Client Secret
The client_secret is generated when registering a confidential client. The secret will be used to authenticate your client application when you request a token.
The client secret is only displayed when creating the client application, so copy it and keep it safe! It can be regenerated, but all clients will lose access when their token expires.
Scopes
The OAuth 2.0 authentication flow uses scopes to define which rights are granted to the application by the user. Scopes are sent as a space separated list. The API currently supports these scopes:
full_access: grants access to all resources in awork.offline_access: continued access, issues aRefresh Token.
Tokens
Access Token
The Access Token is used to authenticate yourself within the API resources. It needs to be included in every request to the API. Each user has to use their own unique Access Token, since such tokens are only valid with the associated user. Also, Access Tokens are valid for one workspace only. If the client application wants to access multiple workspaces, it needs to request separate tokens. The token is usually valid for only a few days.
Refresh Token
The Refresh Token is used to get a new Access Token once the Access Token has expired. A Refresh Token expires when it is used to get a new Access Token or after 30 days. A new Refresh Token is issued every time a new Access Token is requested.
Authorization Code
The Authorization Code is a transitory code used to retrieve an Access Token and Refresh Token. It should not be stored in the client application.
OpenID Connect Discovery
awork supports OpenID Connect discovery, which provides a standardized way to discover OAuth 2.0 and OpenID Connect configuration information:
OpenID Configuration
Discovery Endpoint: https://api.awork.com/.well-known/openid-configuration
This endpoint returns important configuration details including:
- Available OAuth 2.1 endpoints
- Supported grant types, scopes, and response types
- Supported PKCE challenge methods
- Token endpoint authentication methods
Endpoints
The OAuth 2.0 endpoints are required to get an Access Token and exchange a Refresh Token for a new Access Token:
OAuth 2.0 Endpoints
Authorization: https://api.awork.com/api/v1/accounts/authorize
Token: https://api.awork.com/api/v1/accounts/token
Authorization Endpoint: used to request user authorization and initially retrieve an Authorization Code.
Token Endpoint: used to retrieve an Access Token from either an Authorization Code or a Refresh Token.
Authorization Request
The client constructs the request URI by adding the following parameters to the query string of the authorization endpoint URI. The client directs the user to the constructed URI using a browser window. The user is prompted to log in, enter her or his username and password, and grant the requested permissions to the client application. If the user is part of several workspaces in awork, the user needs to select the workspace before authorizing the application.
Parameter
client_id: The client Id of the client application. Required.redirect_uri: The user will be redirected to a custom URI after the access was granted. Needs to be the same as specified when registering the client application. Required.scope: A space-separated list of API scopes. See the available scopes above. Required.state: An arbitrary state string that helps the client application identify the request. Optional.code_challenge: Base64-URL encoded SHA256 hash of thecode_verifiercode_challenge_method: UseS256
Note: The generated URL needs to be opened in a browser window. The user has to log in to authorize the application.
All query parameters (especially the redirect_uri) must be properly URL-encoded.
User Authentication
The user logs in and can then grant or revoke the authorization request.
Response
If the user grants the authorization request, the authorization server issues an authorization code and delivers it to the client by adding the following parameters to the query string of the redirection URI using the application/x-www-form-urlencodedformat.
Parameter
redirect_uri: The previously specified redirect URI.code: TheAuthorization Codethat will be exchanged for anAccess Tokenin the next request.state: The same arbitrary state string that the client application passed in the authorization request earlier.
Access Token Request
If the client application has been successfully authorized, it sends a request with the following parameters in the body to the token endpoint using the application/x-www-form-urlencoded format.
Parameter
code: TheAuthorization Codethat was received in the previous authorization response. Required.redirect_uri: The previously specified redirect URI. Required.client_id: The client Id of the client application. Required.code_verifier: The originalcode_verifierused in the authorization request. Required.client_secret: The client secret of the client application. Required if the client is confidential.
Note: To build a proper HTTP Authorization header for confidential clients using Basic Access Authentication, you need to encode your client_id and client_secret using Base64, and add it to the Authorization header as follows: Authorization: Basic Base64({client_id}:{client_secret})
Note: All query parameters (especially the redirect_uri) must be properly URL-encoded.
Response
If the access token request is valid and authorized, the authorization server issues an Access Token and Refresh Token. If the request failed or is invalid, the authorization server returns an error response.
After receiving the Access Token, you can use it to request resources from the API.
Resource Request
To authenticate with and receive resources from the API, add the Access Token to the Authorization header in the following form:
Note: Access Tokens expires and will need to be refreshed with the Refresh Token. See the next step.
Refresh Token Request
When the Access Token has expired, you must use the Refresh Token to retrieve a new Access Token. The application sends a request with the following parameters in the body to the token endpoint using the application/x-www-form-urlencoded format. Same as in the Access Token Request, you need to send the client credentials in the Authorization header.
The authorization server responds with a new Access Token and a new expiration. It also returns a new Refresh Token, invalidating the old one.

